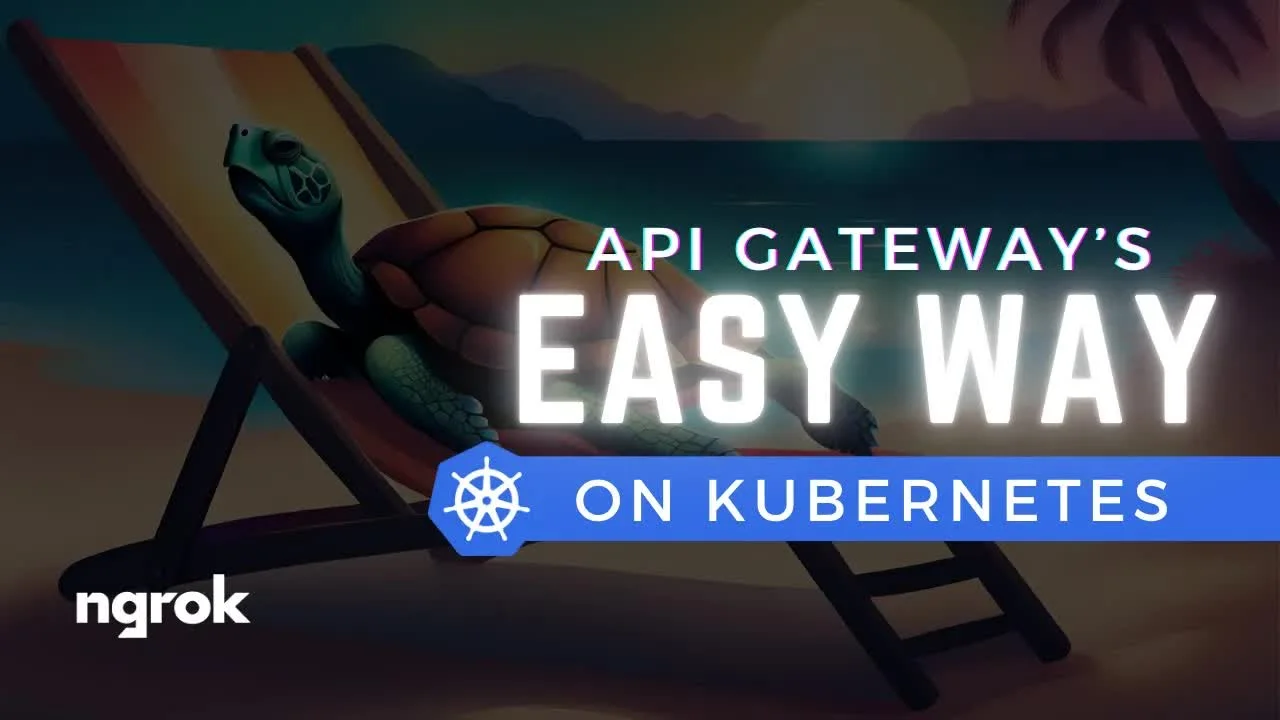
About this video
What You'll Learn
- Install the ngrok Kubernetes operator with Helm and connect it to a namespace.
- Configure GatewayClass, Gateway, and HTTPRoute resources to route traffic by hostname and path.
- Attach an ngrok TrafficPolicy to rate limit build requests over a sliding window.
Install the ngrok Kubernetes operator via Helm, wire up GatewayClass, Gateway, and HTTPRoute against a custom ngrok.dev domain, route to three sample services, then enforce a sliding-window rate limit with an ngrok TrafficPolicy.
Jump to a chapter
- 0:00 Introduction
- 0:25 Challenges of Exposing Kubernetes Services
- 0:33 Questions
- 2:33 Introducing ngrok as a Solution
- 2:37 Cluster Prep
- 3:53 Deploying Gateway API Classes
- 4:11 Installing ngrok Kubernetes Operator via Helm
- 4:37 ngrok Service Setup
- 4:40 Obtaining ngrok API Keys and Domain
- 5:47 Completing Operator Installation
- 6:20 Reviewing Cluster State and Deployed Resources
- 7:05 Connecting ngrok to Services
- 8:08 Configuring Routing with Gateway API Resources (GatewayClass, Gateway, HTTPRoute)
- 9:02 Applying Gateway Configuration
- 9:45 Testing Initial Routing
- 10:25 Testing All Configured Routes
- 10:45 Exploring ngrok Features: Rate Limiting
- 11:06 Rate Limiting
- 11:07 Defining the Rate Limiting Traffic Policy
- 12:21 Attaching Traffic Policy to HTTPRoute
- 13:15 Testing the Rate Limiting Policy
- 13:49 Ngrok Dashboard Policy Visualization & Other Features
- 14:25 Conclusion
Full transcript
Generated from the English captions. Timestamps jump the player to that moment.
Read the full transcript
0:00 Introduction
0:00 Hello, and welcome back to the Rawkode Academy. Today, we're gonna take on a fun challenge. Now, this may sound quite scary, but at some point in your Kubernetes journey, someone is gonna ask you to expose one of their services to the Internet. Okay. So it's not that scary. However, exposing services to the Internet does come with a bunch of questions and challenges. The first thing you need to work out is how are you gonna route traffic to your cluster. Now this really depends on whether you're running on your own data center with bare metal or whether you're using a cloud provider.
0:33 Questions
0:49 With the former, you probably need some sort of BGP advertisement that gets traffic from the wild Internet to one or more of your clusters. If you are on a cloud provider, you've got another decision to make. That is, do we go with one load balancer or many? One load balancer is cheaper. However, you may not have the scale or resiliency that you need, so you may decide to go with many. Then you've got the challenge of which type of cloud load balancer do you go with. A network load balancer, an application load balancer, or an elastic load balancer.
1:28 Then, of course, traffic is at our cluster to be routed directly to the services. Well, you could, but what about authentication? Does every service have to build that themselves? What about security concerns? Rate limiting, filtering, OAuth, JWTs? The list goes on. Getting traffic to your cluster is just the first part of the battle. Making it secure and resilient after that is the second part. You need good audit logs. You do need authentication. You need authorization, and you need protections for malicious actors. So what if this could all just be simpler? What if there was a service that could
2:11 handle all of this for me, including the trade offs, giving me a simple API that allows me just to ship things to my cluster and keep my customers happy without losing resiliency, redundancy, scale, and hopefully not costing me the world. Enter ngrok. Alright. Let's get our hands on the keyboard and take a look. Here we have some instructions that have been put together that allow us to deploy some sample workloads and the ngrok materials that we need to demonstrate its true power within a Kubernetes context. Now the first command here is to deploy a sample workload to our Kubernetes cluster.
2:37 Cluster Prep
3:02 We can take a look at this by popping over to GitHub. Now we can see here that we have a deployment, a service, another deployment, another service, another deployment, and finally, another service. Three deployments and three services. Now that I've reviewed this, I'm quite happy to apply it to my cluster. And there we go. All three services and all three deployments deployed. We can pop open to the terminal and run GetPods. Images are pulled and things look good. Now we need to deploy the ngrok Kubernetes operator. But before we do that, we are gonna deploy the gateway I classes to this cluster.
3:53 Deploying Gateway API Classes
3:53 We're not gonna go old hat and deploy ingress controllers. Heck no. We're going all in on the gateway API. So let's throw this onto our cluster. Sweet. Next up, we need to add the helm chart for the ngrok operator. This is just available at charts.ngrok.com. It really couldn't be simpler. After we do our repository update, we can then deploy a Kubernetes operator with a helm install. This just takes a namespace and two API keys from the ngrok service. Now as I like to leave no stone unturned, let's pop back open to our browser where we have the ngrok dashboard.
4:40 Obtaining ngrok API Keys and Domain
4:45 I have nothing configured or set up at the moment. Now the prerequisites here are you need a domain. Now you could bring your own or you can pop over here and ask ngrok to give you one. Here, I'll ask for Rawkode.ngrok.dev. Sorted. Now we need to get those API keys. Let's pop over to, you guessed it, API keys. We click on create and we say add. This gives us an API token, which I'm now flashing to the world. Let's drop that in here. And lastly, we need the auth token, which is available near the top by Get Started.
5:36 And I'm gonna click copy, but not Flash. So let's head back to Versus Code. From here, I can add a namespace to deploy the ngrok operator, in which case I'll call mines ngrok. We don't need to create this first because we are using the helm flag create namespace. On this, we can hit go. I'm going to paste in my auth token, but I am gonna omit it from the video. So let's see some movie magic. Voila. Just like that, all deployed. Let's quickly recap where we are. Firstly, let's run API resources and filter for gateway.
6:20 Reviewing Cluster State and Deployed Resources
6:30 Here we have a standard Kubernetes cluster deployed with the gateway API resources. This is a new way of doing ingress and you'll see how it works as we progress through this tutorial. We can also run get namespaces where we have an ngrok namespace. Inside this ngrok namespace, we have the ngrok operator. We also deployed some sample workloads to the default namespace. So let's hook up ngrok to these services and make them available to your friends, your family, your customers, your colleagues. Okay. So from the terminal, let's run curl get request against our endpoint, which is Rawkode.ngrok.dev.
7:05 Connecting ngrok to Services
7:24 Now from this, we can see that we hit the ngrok network. We see cdn.ngrok.com and a whole bunch of other stuff. So let's run this again with a dash v so we can see the response and type in our domain name again. Up here we see 404 not found. So let's pop over to the ngrok platform and just hit refresh. You'll see that under endpoints we have our domain name. The problem is we haven't given it anywhere to route that traffic. And as you'll see under edges, it's currently blank, so let's fill in some of those blanks.
8:08 Configuring Routing with Gateway API Resources (GatewayClass, Gateway, HTTPRoute)
8:08 We head over to Versus Code, here I have the missing pieces that we need to apply to our cluster. Now don't worry, this code will all be available. The link will be in the show notes when you're ready to try it out. The first thing we need to do is create a gateway class that says s gateway will be powered by the ngrok gateway controller, which we already deployed with the help char. Next, we set up a gateway to be configured with our hostname Rawkode.ngrok.dev. This gateway then needs to know how to route traffic. So here we have an HTTP route,
8:49 which then matches based on path and directs to each of the three services we deployed earlier: build, test and deployment. Given that, we can then just hit go and deploy this to our cluster. We'll now see that the three resources were created. So let's head back to our terminal where we can run kubectl get gateway, gateway class, and HTTP routes. We'll see that this is now all provisioning, And if we head over and refresh our edges, we'll see that we now have an edge for our host name. Now that is exciting. So now I'm curious. What happens if we
9:45 Testing Initial Routing
9:47 curl Rawkode.ngrok.dev? Well, we still get a four zero four. So let's try that again. However, let's do h t t p s Rawkode dot ngrok dot dev slash builds. And now we're getting an empty array. Does that mean we're hitting our service? Well, let's add v for verbose. Rawkode.ngrok.devbuilds. Now we can see that we're getting an HTTP 200. Okay. But that's just one service, so let's pop back over to Versus Code where I have this very sophisticated script that will curl each of the endpoints that we have the path prefix routing configured for and print out the status code.
10:25 Testing All Configured Routes
10:38 Here we see 202200. Everything is working great. But we're not just here to show you that ngrok can make our ingress to our cluster simpler. Although it already has, we haven't configured a cloud load balancer, but our cluster is on the cloud. So what else can ngrok bring to the table? Let's take a look at one example, rate limiting. So we're gonna apply one more resource to our cluster. This time it is an ngrok traffic policy. I'm gonna call it rate limiting because we're going to enforce some rate limiting. And what we're saying here is just that
11:07 Defining the Rate Limiting Traffic Policy
11:20 we have an inbound policy with a name, with an expression, where we're just looking for the request method to be a POST or a POST. Essentially, we're targeting the rights to our system and we probably don't want anyone to apply too many rights too quickly and overload our database. Slightly contrived, but it proves a point. We then apply an action which is if we receive more than 10 requests over a slide in sixty second window from a single IP address we want to start rejecting those. This is identifying a potential malicious actor writing too much
12:00 to our system, potentially trying to perform some sort of denial of service attack. I then have a curl command down here which will execute 38 requests almost instantaneously and we'll see how those fare. But there's one thing we need to do first. There's two things we need to do. We need to apply this to our cluster. We then need to attach that to one of our roots. This rate limit does not apply to every single service. We need to add the filter to our HTTP root object. Before this I'm going to do a kubectl edit HTTP
12:21 Attaching Traffic Policy to HTTPRoute
12:40 roots. This will pop open all of the roots in our cluster where I can pop down to the matches on builds. Why? Because the curl request that I'm going to execute is going to try and hit builds trigger. Now we just need to make sure this lines up correctly which should be this rule here back end matches filters. Perfect. We can save this and close where it has now been edited and applied to our cluster. If we head back over to Versus Code, we now see our simple script to execute 30 cURL requests. So let's
13:15 Testing the Rate Limiting Policy
13:22 run our script. And because of the sliding window we did manage to sneak in more than 10 but not much before the four two nines did start to return. Let's just run that again. Four two nine four two nine. So the rate limiting is kicking in and working. Awesome. Now I think it's also nice to point out that while we're using Kubernetes approach here, which means we can do this as infrastructure as code or at least, you know, yaml. If we head over to the ngrok where we were looking at the edges earlier, we can change to our build
13:49 Ngrok Dashboard Policy Visualization & Other Features
14:06 where we click on traffic policy. We can actually visualize the policy here. Now you'll see there's a lot here. We can add circuit breakers, compression, IP restrictions, OAuth, OIDC, and so much more. The ngrok platform and what I'm showing you today is just a fraction of what it is capable of. So go forth, have fun, and simplify your networking life with Kubernetes by adopting ngrok, installing the operator, and taking advantage of the bleeding edge gateway API and build your API gateways today. Have fun.
Technologies featured
Stay ahead in cloud native
Tutorials, deep dives, and curated events. No fluff.
More about ngrok


More about Kubernetes


Comments