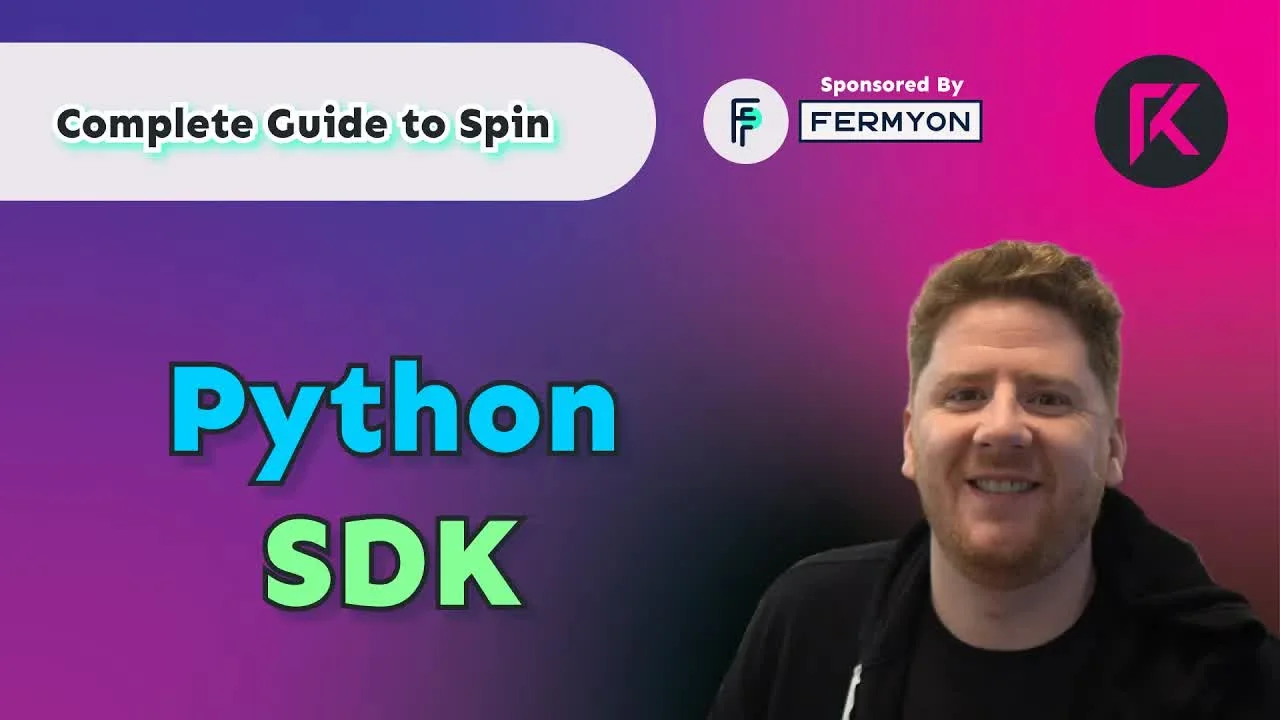
About this video
What You'll Learn
- Install the py2wasm plugin and Spin Python template before generating a project.
- Return JSON, then read request headers, body, and query parameters from Spin.
- Make outbound HTTP requests, then allow only approved hosts in Spin config.
Walk through Fermyon's Spin Python SDK: installing the py2wasm plugin, returning JSON, parsing headers, body, and query strings, and making outbound HTTP requests, with tips for navigating the Rust source while LSP support is pending.
Jump to a chapter
- 0:00 Introduction & Python SDK Overview
- 0:10 Installing the Spin Python SDK
- 0:34 Generated Project Structure (Pipfile, app.py, spin.toml)
- 1:24 Building and Running the Default App
- 1:53 Common Spin SDK Tasks Overview
- 2:51 Modifying the HTTP Response (Returning JSON)
- 4:02 Accessing Request Headers (LSP Note & Rust Code)
- 8:01 Accessing the Request Body
- 9:25 Accessing Query Parameters
- 11:31 Making Outbound HTTP Requests
- 13:03 Configuring Allowed HTTP Hosts
- 14:18 Conclusion & Future Improvements
Full transcript
Generated from the English captions. Timestamps jump the player to that moment.
Read the full transcript
0:00 Introduction & Python SDK Overview
0:00 Welcome back to the complete guide to Spin here at the Rawkode Academy. In today's video, we're going to carry on with our SDK walkthroughs taking a look at the Python SDK. Let's dive in. So in order to get started with the Python SDK for Spin, you will have to install the py to WASM plugin. So to get started with the Python SDK for Spin, the first thing you need to do is make sure you are on version 0.9 or greater. Once you have that version of Spin available, you can run Spin plugins update. From there, you can install Spin plugins install
0:10 Installing the Spin Python SDK
0:33 Pytorwasm. And in order to generate a new Python project with the Spin CLI, you will also need to add with Spin template install the Python SDK. From there, you can generate a new Spin project with Spin new and this will give you a directory structure like so. We have a pip file which has all of the dependencies that we need, which for this example is zero at the moment. We also get an app dot py which defines a handle request function and returns a 200 response. We'll dive into the Python code in just a moment. Lastly, we have to spin dot
0:34 Generated Project Structure (Pipfile, app.py, spin.toml)
1:10 toml. Here, we can see the three components that we expect for all spin components. One, the build step, two, the trigger, and three, the ID and the source simple. Now we can test that this works as expected by running spin build. From there, we can run spin up, and this will show us that we have an HTTP server running on local host 3,000. Using curl, we can confirm our endpoint works like so. Perfect. So like the other SDK walk throughs, what we're going to do is run through some common tasks that are almost ubiquitous when
1:24 Building and Running the Default App
1:50 working with the Spin SDKs. Our first endpoint, which we've already seen because Spin new generated that all for us. We have an endpoint that allows us to print out hello world. However, we'll make a small modification to this and run through the build and run steps one more time. From there, we're going to take a look at how we work and interact with HTTP for Spin component. We're going to get the headers, parse HTTP body, and even parse and understand the query parameters. Lastly, we'll take a look and make an outbound HTTP requests with the Spin SDK. So
1:53 Common Spin SDK Tasks Overview
2:25 let's make that first change to our Python code. What's important to note here is that this is just any regular Python program like working with any of the Spin SDKs. You don't actually need to learn anything new to start building web assembly components. So let's show we can add hello world on the CLI minus an extra quote. So let's modify our simple generated endpoint to return a JSON payload. First, step one, make sure we're returning the correct content header or content type header as part of the HTTP response. Next, we're gonna import from JSON dumps
2:51 Modifying the HTTP Response (Returning JSON)
3:12 assuming that I can remember how to type any Python code. Next, we're going to remove this f string and then use our dumps function with a Python dictionary where we will see that my name is David. And I don't have a Python format installed, so I'll just do it the hard way. Next, run spin build, spin up and we'll run a curl one more time. Only this time, I'm feeling rather confident and we're gonna pipe it straight to JQ. And as you can see, we have the print statement running on our spin up here as well as the JSON output from our
3:52 HTTP response. So that is our first HTTP endpoint with a simple modification to work with JSON. Nice. So let's talk about request headers. How do we get the headers from HTTP request being made? And before we dive straight in to type in some code, I have a confession to make. Unfortunately, the LSP for Python is not going to help us to auto complete our way to victory in this code. And there's some interesting reasons why. So first, why am I telling you this? Well, normally, what we would do is provide enough typing to our code like so to
4:02 Accessing Request Headers (LSP Note & Rust Code)
4:30 autocomplete on headers, methods available on headers, on the body, on the status, and so forth. However, as you can see on the screen here, we see unknown for request. And this is because the Python SDK for Fermion Spin is not written in Python. So the traditional Python tooling for LSP just isn't going to work. And that's because the Python SDK for Fairbion Spin is written in Rust. Now the team are actively working on getting bindings for LSPs available for the SDK, and hopefully that will be available very, very soon. But for today, your best friend is the code.
5:11 So if you go to github.com/verimeon/spin-python-sdk, you will find the crates directory, which has the Spin Python engine directory. Inside of that, you will find source and a single lib dot r s. Now you do not need to be able to read Rust to get the help that you need. As you can see here, we have a struct. This is just a type definition, and we can see all of the properties available on the HTTP request. We can see the method, the URI, the headers, and the body. This works for all the types you'll have to interact with as
5:45 you build your Python SDK, Fermion Spin applications. What's important to note here is that the headers are a vector, a vector of tuples, where the tuple is a string string type or a string string tuple. Now Python supports tuples, doesn't have vectors, but it has lists. If you're familiar with Python, and I assume you are because you're watching this video, that means that we actually can't really do headers dot get name with a default value because this get is working against the list, then we'd have to destructure the tuple and so forth and so forth. So what we actually
6:21 need to do is choose a nice little Python trick, which is to convert our list of tuples to a dictionary like so. And this becomes all headers. So now we're in a position where we have an API. And if you've seen the other SDK videos, we should be familiar with this now, where we can use a formatted entry point to string or an f string in Python, where we say hello. And here, we'll do all headers, and we'll just fetch out the name property. And I'll call this x name just because we're using an HTTP
6:58 header, and custom headers usually start with an x dash. Now the case isn't important. It will always be lower case when made available to you within the SDKs. But now that we've used our trick of converting our list of tuples to a dictionary, we've formatted our string, we can pop over to the terminal, do a spin build, and a spin up, where we can now provide our x name header and curl our local endpoint. Like so. And, of course, just to show that this is real, although I know you all trust me by now, we can pass in the
7:36 value that we want, and it will be formatted as part of the response. So two things to take away here. Yes. It's crappy. We don't have LSP, but trust me, it's coming soon, and it's gonna be amazing. Two, use the Rust code. Again, you don't need to be able to write Rust. Find the struct, get enough information on the properties, and the code will almost write itself. Sweet. Next up, issue to p request body. This one, super simple. You do body equals request dot body, and we'll print this to the CLI. But while we're here,
8:01 Accessing the Request Body
8:13 let's change our from JSON import stump to also pull in the loads function. From here, we can say that our object equals loads and this will parse the string of the HTTP body as a JSON string. Meaning, we can now do print and say f string name is object name, like so. So let's go back to our CLI where we can build and up. Now we can do a curl to local host 3,000, only this time we'll provide a JSON body where we'll set the name like so. Now we're still getting the standard JSON response
9:05 that we set earlier, which just has hello world of x name is not defined. But as you'll see on the terminal output above, the standard print of the body returns the bytes with the JSON string followed by the name as Rawkode after we've loaded the JSON and consumed one of the properties. Sweet. Okay. Let's do the query string. And to make our lives a little bit easier, we're gonna hard code our response and remove everything that we've done so far. Now much like the body, the query string is available as a single property, but it's gonna need pars from that property.
9:25 Accessing Query Parameters
9:46 We can grab the entire URI by asking for request URI. Now if we print this now, what we'll see is we get a full string with the protocol, the host, the port if it exists, the path, and then anything beyond the path such as the query string or fragments. But Python provides some standard library components that allow us to parse all this. So we can see from URL lib dot parse and port URL parse, as well as parse qs for query string. This means that we can say the query string equals to URL parse on the URI
10:31 and we want to create a component. Copilot is always one step ahead. Next, we're going to want to get to query string as a dictionary. And for this, we'll just call this params, which is going to be equal to parse the query string from above. So let's do a pretty print of this to our terminal. So as always, we do a spin build and a spin up where we can now curl local host 3,000 and pass some parameters. And here, we'll just say that name equals and a b c equals some values. You will have to quote this
11:10 to stop your terminal pulling out that ampersand like so. We get the hard coded response back which is fine, but in our CLI output, we could see the query string and the parsed keys and values. Now you can do whatever you need with the query string. Tada. Now finally, we're going to make an outbound HTTP request. Let's pop open our simple generated app dot py and we'll add request to the spin HTTP as well as HTTP underscore send. These function names are the same as other SDKs and if you need to dig into it, remember you can always check out
11:31 Making Outbound HTTP Requests
11:51 the Rust source code for the SDK that you want to interact with. Now down here, we can see response equals HTTP send where the send takes a request. Now the structure of a request requires the method, the URL, parameters, and throw on a none for good measure. Now, of course, good measure is not always a good reason to add arbitrary values to function calls. Well, remember, check out the code. And it should be request takes a message, a URI, headers, and a body. As we can see from here and from here, the body is an option type. So providing
12:32 none just means we want no body. I'm not going to parse the HTTP response from this request. Instead, let's just pretty print it and pull in the pretty print function like so. Now we could jump back to our terminal. Uh-huh. Exactly. And type in your curl. Awesome. If you've seen any of the SDK videos before, you'll know that 100% we always expect destination not allowed. Why? Rate and spin components, you have to very explicitly allow outbound request to the host that you want to speak to. As such, we need to add something to our spin.toml.
13:03 Configuring Allowed HTTP Hosts
13:16 In your component, you can see allowed HTTP hosts equals google.com. We can jump back, spin up and build like so. Now we've made our HTTP response to Google.com. However, you'll notice that we have a response object with a funny value inside of our terminal. So what do we do? We jump back to the Rust source code. We can see their HTTP response as a status, headers, and a body. So let's modify our code for the status, the body, and the headers. We'll spin build up and curl. Now we can see lots of bytes for the body
14:06 at a status code somewhere at the top, somewhere at the top, 200. With our headers being at the very bottom that we've we got them here. Don't you worry. So that is the Spin SDK for Python. So Python is your jam. Start writing WebAssembly components using Fermion Spin today. The developer experience with the language server protocol type ins and easier documentation is all coming very soon. Remember to check the description updates will be coming soon. Of course, feel free to just go check out the repository available at github.com/fermion/spin-python-stk. Watch it. Follow for new releases. Fermion ship fast and changes will be coming
14:18 Conclusion & Future Improvements
14:47 very very soon. That's the last time I'm gonna see soon in this video. I'll see you soon.
Technologies featured
Stay ahead in cloud native
Tutorials, deep dives, and curated events. No fluff.

Comments