Look at your development toolchain. You’re probably running direnv for environment variables, Just or Make for tasks, mise or asdf for tool versions, and maybe Turborepo for monorepo orchestration. Each tool has its own configuration format, its own quirks, and none of them talk to each other.
I got tired of this fragmentation. I wanted one tool that could handle environments, tasks, and secrets with proper type safety and a configuration model that actually works for monorepos.
That’s why I built cuenv. It leverages CUE’s greatest strength: its hierarchical configuration model. Configuration flows naturally from the module root down to your current working directory, exactly what you need when managing complex project structures. No more copy-pasting Justfiles or fighting with direnv’s .envrc inheritance.
The final piece of the puzzle was the release of the CUE Central Registry. That was the catalyst I needed to start building.
In case you want to know up front, cuenv has been heavily made possible by guiding my army of AI agents. Please note, I have been a developer for over 20 years. I can code. I can mentor and guide. I use AI agents to make building things go from taking months to weeks. If that is a red flag for you, I’ve saved you some time. Enjoy your day.
What Development Environments Actually Need
Think about what you need when you sit down to work on a project:
- Software: compilers, runtimes, databases, CLI tools
- Environment variables: configuration that tells your app how to behave
- Secrets: API keys, database passwords, credentials you can’t commit
Most developers cobble together solutions: direnv for variables, mise or asdf for tool versions, some combination of .env files and shell scripts for secrets. It works, but it’s fragmented. Nothing validates your config. Nothing ensures consistency across your team.
cuenv handles all three concerns in a single, type-safe configuration file:
package cuenv
import "github.com/cuenv/cuenv/schema"
schema.#Cuenv
hooks: onEnter: nix: schema.#NixFlake
env: {    DATABASE_URL: "postgres://localhost/mydb"    DEBUG:        true    PORT:         3000    // Interpolation    BASE_URL:     "https://api.example.com"    API_ENDPOINT: "\(BASE_URL)/v1"}
tasks: dev: { command: "bun", args: ["run", "dev"] }
Let’s walk through what’s happening here:
Hooks: Setup Your Environment Automatically
hooks: onEnter: nix: schema.#NixFlakeThe hooks.onEnter block runs when you enter a directory. Here, nix: schema.#NixFlake tells cuenv to automatically activate your Nix flake environment, installing all your project’s software dependencies in the background. No manual nix develop, no forgetting to activate.
cuenv supports multiple hooks: Nix flakes, devenv, or custom shell commands. Your tools are just there when you need them.
Env: Configuration Without the Guesswork
env: { DATABASE_URL: "postgres://localhost/mydb" DEBUG: true PORT: 3000 BASE_URL: "https://api.example.com" API_ENDPOINT: "\(BASE_URL)/v1"}Environment variables are declared explicitly. CUE gives you string interpolation (notice how API_ENDPOINT builds on BASE_URL), type coercion, and, as we’ll see later, powerful constraints to validate values before they ever reach your application.
Tasks: Commands You Run Every Day
tasks: dev: { command: "bun", args: ["run", "dev"] }Tasks are named commands. Instead of remembering bun run dev or whatever incantation your project needs, you run cuenv task dev. Simple, consistent, and as your project grows, these tasks can depend on each other, run in parallel, and cache their results.
This simple example covers the basics. Now let’s see how cuenv exposes these capabilities through its CLI.
Two Commands, Infinite Possibilities
cuenv is built around two core commands that handle everything you need:
cuenv exec -- <command>: Run Anything, Securely
cuenv exec -- npm startcuenv exec -e production -- ./deploy.shcuenv exec -- cargo build --releaseHere’s what happens when you run cuenv exec:
- Hooks run to completion: All
onEnterhooks execute first. Nix flakes activate, devenv spins up, shell commands run. The first time takes a moment while packages install; subsequent runs are near-instant as everything is already cached and ready. - Secrets resolve: Every secret in your
env:block is fetched from its provider (1Password, GCP, custom CLI) right before execution. No disk writes, no shell exports, just secure, ephemeral values. - Your command executes: With hooks complete and the validated, secret-enriched environment in place, your command runs exactly as intended.
No more hoping your configuration is correct. CUE constraints ensure it is. No more “works on my machine”. Everyone gets the same environment, every time.
cuenv task <name>: Orchestrated, Parallel, Cached
cuenv task buildcuenv task testcuenv task -e production deployTasks follow the same bulletproof flow:
- Hooks run to completion: Same as
exec. Your Nix flake or devenv activates, ensuring all tools are available. After the first run, this step is essentially instantaneous. - Secrets resolve: Any secrets referenced in
env:are resolved just-in-time, available to your task but never persisted. - Dependencies execute: Tasks specified in
dependsOnrun first, with their own caching respected. - Your task runs: With the full environment ready, your task executes with automatic dependency resolution, parallel execution, and content-aware caching.
Your CI gets faster without you lifting a finger, and you get the confidence that every run is reproducible.
Type-Safe Environment Variables
Here’s where CUE truly shines, and why I chose it as cuenv’s foundation. CUE’s hierarchical configuration model was built for exactly this problem: configuration that flows naturally from a module root down through nested directories. This is monorepo nirvana.
Configuration Flows Downward
When you run cuenv, it doesn’t just read the env.cue in your current directory. It evaluates all CUE files from your module root down to where you’re standing, unifying them into a single configuration. Define something once at the root, and every subdirectory inherits it automatically.
my-monorepo/├── cue.mod/ # CUE module root├── env.cue # Root config: shared across everything├── projects/│ ├── env.cue # Projects config: extends root│ ├── api/│ │ └── env.cue # API-specific config│ └── web/│ └── env.cue # Web-specific config└── infrastructure/ └── env.cue # Infra-specific configRoot env.cue: organization-wide defaults:
package cuenv
import "github.com/cuenv/cuenv/schema"
schema.#Cuenv
env: {    // Every project in the monorepo inherits these    CLOUDFLARE_ACCOUNT_ID: "abc123def456"    GCP_PROJECT:           "rawkode-academy"    GCP_REGION:            "europe-west2"
// Type constraints inherited everywhere LOG_LEVEL: "debug" | "info" | "warn" | "error" | *"info" NODE_ENV: "development" | "staging" | "production"}projects/api/env.cue: service-specific overrides:
package cuenv
env: {    // Inherits CLOUDFLARE_ACCOUNT_ID, GCP_PROJECT, GCP_REGION from root    // Adds API-specific configuration    PORT:         8080    SERVICE_NAME: "api"    DATABASE_URL: "postgres://\(GCP_REGION)-sql.example.com/api"}
When you cd projects/api && cuenv exec -- go run ., the environment contains everything: the root’s GCP_PROJECT, the API’s PORT, all unified and validated.
Type Constraints That Travel
The real magic is that constraints flow downward too. Define NODE_ENV: "development" | "staging" | "production" at the root, and every subdirectory is bound by that constraint. A developer can’t accidentally set NODE_ENV: "prod" in their service config. CUE catches it immediately.
env: {    // Constrained values - violations caught at evaluation time    NODE_ENV:  "development" | "staging" | "production"    LOG_LEVEL: "debug" | "info" | "warn" | "error"
    // Pattern matching for URLs and connection strings    DATABASE_URL: string & =~"^postgresql://"    API_ENDPOINT: string & =~"^https://"
    // Numeric bounds with defaults    PORT:    >0 & <65536 & *3000    TIMEOUT: string | *"30s"}
If someone violates a constraint, cuenv tells them immediately, not at 3 AM when production is on fire.
String Interpolation Across Boundaries
CUE’s interpolation works across the unified configuration, so you can compose values from any level:
env: {    // Defined at root    GCP_PROJECT: "rawkode-academy"    GCP_REGION:  "europe-west2"
    // Composed in a subdirectory - references flow up the hierarchy    STORAGE_BUCKET: "gs://\(GCP_PROJECT)-assets-\(GCP_REGION)"    API_ENDPOINT:   "https://\(GCP_REGION)-\(GCP_PROJECT).cloudfunctions.net"}
No more copy-pasting your project ID into every service. Define it once, reference it everywhere.
Secrets Without the Hassle
Secrets are often a pain. Wrapping every command with op run gets old fast:
op run -- bun run devcuenv handles this for you. Declare your secrets in env: and they’re resolved automatically:
cuenv exec -- bun run devMultiple Providers, One Config
The real power is mixing providers. Your database password lives in 1Password, your API keys are in GCP Secret Manager, and that legacy system uses a custom CLI. No problem, declare them all together:
env: {    // 1Password    DB_PASSWORD: schema.#OnePasswordRef & {        ref: "op://vault/database/password"    }
    // Google Cloud Secret Manager    STRIPE_KEY: schema.#GcpSecret & {        project: "my-project"        secret:  "stripe-api-key"        version: "latest"    }
    // AWS Secrets Manager    AWS_SECRET: schema.#AwsSecret & {        region: "us-east-1"        secret: "prod/api/credentials"    }}
Custom Providers
Got an internal secrets tool? A custom vault? Any CLI that can output a secret works:
env: {    CUSTOM_SECRET: schema.#ExecResolver & {        command: "my-secret-tool"        args: ["fetch", "my-secret"]    }
    VAULT_TOKEN: schema.#ExecResolver & {        command: "vault"        args: ["kv", "get", "-field=token", "secret/myapp"]    }}
All your secrets, from any source, resolved together. One command, everything just works.
Parallel Task Execution
cuenv’s task model is elegantly simple:
- Object keys run in parallel (they have no ordering)
- Arrays run sequentially (order matters)
- Dependencies are respected automatically
- Defaults control which subtask runs
tasks: {    // These three run at the same time when you run `cuenv task lint`    lint: {        check:  { command: "eslint",   args: ["src/"] }        types:  { command: "tsc",      args: ["--noEmit"] }        format: { command: "prettier", args: ["--check", "."] }    }
    // With a default, only `fix` runs when you call `cuenv task fmt`    // Run `cuenv task fmt.check` explicitly when needed    fmt: {        default: "fix"        check:   { command: "treefmt", args: ["--fail-on-change"] }        fix:     { command: "treefmt" }    }
    // These run one after another    deploy: [        { command: "npm",     args: ["run", "build"] }        { command: "docker",  args: ["build", "-t", "app", "."] }        { command: "docker",  args: ["push", "app"] }        { command: "kubectl", args: ["rollout", "restart", "deployment/app"] }    ]
    // This waits for lint to complete first    build: {        command:   "npm"        args:      ["run", "build"]        dependsOn: ["lint"]        inputs:    ["src/**/*", "package.json"]        outputs:   ["dist/**/*"]    }}
The inputs and outputs fields enable content-aware caching. If your source files haven’t changed, cuenv skips the task and uses cached results. Your CI just got a lot faster.
A Real-World Example
Here’s a snippet from cuenv’s own configuration (yes, cuenv is built with cuenv):
package cuenv
import (    "list"    "github.com/cuenv/cuenv/schema")
schema.#Cuenv
hooks: {    onEnter: {        nix: schema.#NixFlake  // Auto-load Nix environment when entering directory    }}
tasks: {    // Shared input definition    #BaseInputs: ["Cargo.toml", "Cargo.lock", "crates"]
    lint: {        command: "cargo"        args: ["clippy", "--workspace", "--all-targets", "--", "-D", "warnings"]        inputs: #BaseInputs    }
    test: {        unit: {            command: "cargo"            args: ["nextest", "run", "--workspace", "--all-features"]            inputs: list.Concat([#BaseInputs, ["tests", "features", "examples"]])        }        doc: {            command: "cargo"            args: ["test", "--doc", "--workspace"]            inputs: #BaseInputs        }        bdd: {            command: "cargo"            args: ["test", "--test", "bdd"]            inputs: list.Concat([#BaseInputs, ["tests", "features"]])        }    }
    build: {        command: "cargo"        args: ["build", "--workspace", "--all-features"]        inputs: #BaseInputs    }}
Notice a few things:
#BaseInputsis a CUE definition that’s reused across tasks, no copy-pastelist.Concatcombines input lists dynamicallytesthas nested tasks (unit,doc,bdd) that run in parallel- Nix integration automatically sets up the development environment
Run cuenv task test and all three test suites run simultaneously. Run cuenv task build and it just works.
Simplify with Shared Configs
That’s a lot of boilerplate for standard Rust tasks. cuenv ships defaults for common languages, so you can simplify to:
package cuenv
import "github.com/cuenv/cuenv/schema"
schema.#Cuenv
hooks: onEnter: nix: schema.#NixFlake
// Use Rust defaults: lint, test, build, fmt, etc.tasks: schema.#Rust
schema.#Rust brings sensible defaults: clippy for linting, nextest for testing, proper input/output tracking for caching. Need to customize? CUE’s unification lets you extend:
tasks: schema.#Rust
// Add a custom BDD test task alongside the defaultstasks: test: bdd: {    command: "cargo"    args: ["test", "--test", "bdd"]    inputs: ["Cargo.toml", "Cargo.lock", "crates", "tests", "features"]}
The defaults handle the 80% case. You extend when you need to. Same pattern works for schema.#Go, schema.#Node, schema.#Python, and more.
CI Pipeline Definitions
cuenv can also define your CI pipelines declaratively:
ci: pipelines: [ { name: "default" when: { branch: ["main", "master"] defaultBranch: true } tasks: [ "fmt.check", "lint", "test.unit", "security.audit", "build", ] }, { name: "pull-request" when: { pullRequest: true } tasks: [ "fmt.check", "lint", "test.unit", "build", ] },]Same task definitions, different execution contexts. No more maintaining separate CI configs and local scripts.
Containerized Tasks with Dagger
Want your tasks to run in containers? cuenv has a Dagger backend that lets you execute tasks in isolated, reproducible container environments:
tasks: {    build: {        command: "cargo"        args: ["build", "--release"]
        // Run this task in a container        dagger: {            image: "rust:1.83-slim"
            // Mount cache volumes for faster rebuilds            cacheVolumes: [                { path: "/usr/local/cargo/registry", name: "cargo-registry" }                { path: "target", name: "cargo-target" }            ]        }    }
    test: {        command: "cargo"        args: ["test"]
        dagger: {            // Chain from the build container - reuse its cache            from: "build"        }    }}
The Dagger backend gives you:
- Container isolation: Tasks run in clean, reproducible environments
- Container chaining: Use
fromto build on previous task containers, sharing caches - Cache volumes: Persist build artifacts across runs for faster iterations
- Secret injection: Secrets from your
env:block are securely mounted into containers
Run locally or in CI: same config, same behavior, same results.
Quick Start
# Install with Nix (recommended)nix profile install github:cuenv/cuenv
# Or with Homebrewbrew install cuenv/tap/cuenv
# Or with Cargocargo install cuenv
Create an env.cue file:
package cuenv
import "github.com/cuenv/cuenv/schema"
schema.#Cuenv
env: {    NODE_ENV: "development" | "production" | *"development"    PORT: >0 & <65536 & *3000}
tasks: {    dev:   { command: "npm", args: ["run", "dev"] }    build: { command: "npm", args: ["run", "build"] }    test:  { command: "npm", args: ["test"] }}
Start using it:
# Run commands with validated environmentcuenv exec -- npm install
# Run taskscuenv task devcuenv task build
# List available taskscuenv task
Shell Integration
Add automatic environment loading when you cd into a project:
# Add to .zshrc / .bashrceval "$(cuenv shell init zsh)"
# Now just cd into your projectcd ~/projects/myapp# → Environment loaded automatically# → Nix packages available (if configured)# → Ready to work
Starship Integration
See your hook status right in your prompt with a custom Starship module:
[custom.cuenv_hooks]command = "cuenv env status --hooks --format=starship"format = "$output"when = "true"disabled = falsedescription = "cuenv hooks status"Your prompt shows at a glance whether hooks are running, complete, or need attention.
Current Status
cuenv is currently in alpha. The core CUE evaluation engine (cuengine) is complete and production-ready. The CLI and task runner are in active development.
| Component | Status |
|---|---|
| CUE Evaluation Engine | ✅ Complete |
| CLI + Task Runner | 🚧 Development |
| Secret Management | 🚧 Development |
| Shell Integration | 🚧 Development |
| Security Isolation | 📋 Planned |
Why I Built This
The “Aha!” moment for me wasn’t just about frustration. It was about realizing that we could do better with very little effort if we just chose the right foundation.
I spent years dealing with the friction of environment management. Every project had its own approach, its own conventions, and none of them talked to each other. I wanted type-safety so misconfigurations fail fast. I wanted shareable defaults so we’re not all reinventing the same Rust or Node task definitions. And honestly, I just wanted cd-ing into a project to be less annoying.
CUE gave me the constraint system and hierarchical model I needed to solve this properly. Rust gave me the performance and safety guarantees to build a robust tool. And the CUE Central Registry provided the ecosystem to make it shareable.
cuenv is the tool I wish I’d had for the last decade. It’s built with cuenv, for cuenv, but my primary driver was to tame the Rawkode Academy monorepo. I use it daily to manage everything from our Astro-based frontend to our Rust backend services, ensuring type-safety and seamless parallel execution across the entire stack.
If you’re tired of the same environment management headaches, give cuenv a try. It’s open source under AGPL-3.0, and I’d love your feedback.
Check out the GitHub repository to get started, or read about the technical journey of building cuengine if you’re curious about the Rust/Go FFI bridge that powers it all.
Resources & References
Documentation
Stay ahead in cloud native
Tutorials, deep dives, and curated events. No fluff.
Related Articles
apko + melange: Distroless OCI Images Your Scanner Can Actually Read
Package, assemble, sign. No Dockerfile, no shell, no surprises.

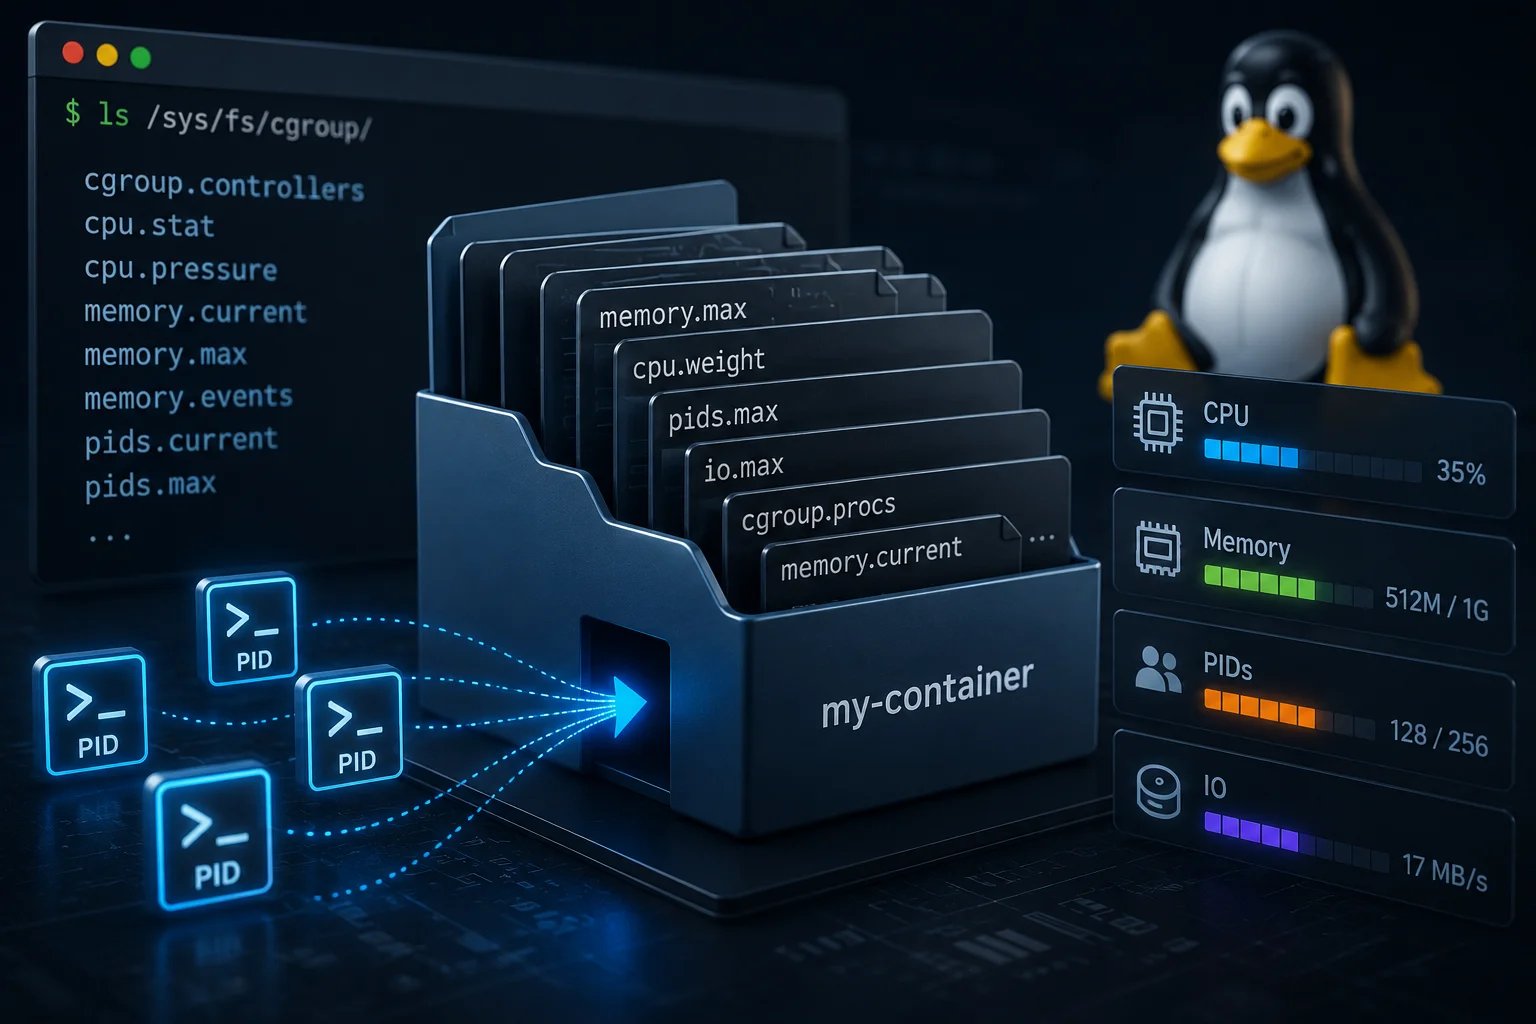
cgroups: From Chaos to Control
The kernel subsystem under every container

Introducing the Technology Matrix
A curated, interactive guide to the Cloud Native ecosystem